While they may be tiny, Raspberry Pi computers have had a gargantuan impact on the technology and education sectors in the short time they've existed. The original model kicked everything off in 2012 and the popularity of the wallet-sized, low-priced computer has grown every year since, with the recent launch of the third iteration of the computer, the Raspberry Pi 3, giving sales a further boost.
Although it just looks like a motherboard, the Raspberry Pi needs an operating system (OS) just like any other fully-fledged computer, which is where Raspberry Pi OS comes in.
Raspberry Pi: Top projects to try yourself Raspberry Pi 4 Model B review: Back, and better than ever Raspberry Pi 400 review: The ultimate portable Pi
The platform was first launched in 2012 under the Raspbian brand, and was run mainly by Mike Thompson and Peter Green with occasional input from the Raspberry Pi and Debian communities. It was originally an unofficial Debian Squeeze Wheezy distro.
Raspbian was then, in 2015, adopted by the Raspberry Pi Foundation as the official OS of the tiny PC, and rebranded in 2020 to Raspberry Pi OS. The name change was prompted by the fact that the underlying technology differed from the 64-bit OS that many commonly referred to as 'Raspbian'.
Although the OS is now known as Raspberry Pi OS, the Raspbian project that powers this deployment will continue. Much like Chromium, there's a massive community that relies on the work of a small dev team to keep a highly popular product running, so let's take a deeper dive into the intricacies of Raspberry Pi OS.
What is Raspberry Pi?
Raspberry Pi is the name of a range of highly successful microcomputers that pulls all of the essentials of a traditional PC onto a single, miniature chipboard. First launched in 2012, the Raspberry Pi has existed as a variety of models across multiple generations, starting first with the Raspberry Pi Model B.
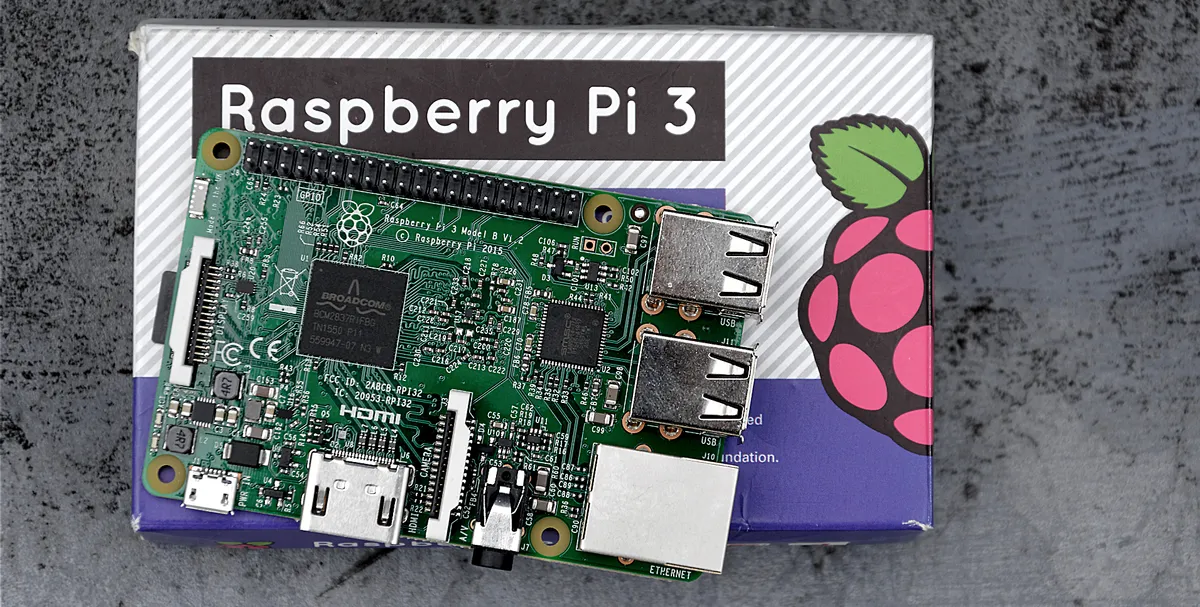
Each Raspberry Pi is designed to function like a modern PC, only without a tower or laptop casing. Each board was built to contain a CPU, RAM, storage in the form of SDHC, visual output in the form of HDMI, dedicated audio in the form of a jack port, USBs for data transfer, an ethernet port, and a power port. Later versions also added ports for additional hardware components, such as cameras. Its creators managed to pack all of this onto a board just 86mm x 57mm in size.
The Raspberry Pi range is the work of the Raspberry Pi Foundation, a UK-based computer science charity with a mission of providing computing to everyone in the world. Its low price is a core tenet of the foundation, with the cost of each device remaining consistent at around £35. Its size also means it can be easily shipped across the world and applied to a wide variety of tasks, whether it’s used to support a child’s school project or used to power a network of CCTV cameras.
All you need to get started is an HDMI compatible monitor and a keyboard and mouse for input, although depending on how you use the Raspberry Pi, you may find you can ditch these entirely once established.
If you’re after a highly engaging, but also cost-effective, tool for introducing children into the world of coding, you won’t find anything quite as good as the Raspberry Pi.
To give you an idea of the sorts of things you can do with a Raspberry Pi device, check out our best projects hub.
Download and install Raspberry Pi OS
Being a Linux-based distro, the OS isn't limited to installs on Raspberry Pis - you can install Raspberry Pi OS on any typical computer fitted with an x86 processor. You can create a live disc, run it in a virtual machine or simply install on it a PC's hard drive.
Raspberry Pi OS can be downloaded from the Raspberry Pi Foundation's website for PC, Mac, or a range of other third-party operating systems. Those taking their first dive into the OS are encouraged to download the NOOBS package (new out of the box software) which provides an easy installer and some helpful tips.
To get the OS onto the Raspberry Pi, you'll be using an SD card. The SD card should have at least 8GB of storage or 4GB for Raspberry Pi OS Lite. There's also a third version, known as Raspberry Pi OS full, which comes pre-installed with productivity software.
The Raspberry Pi Foundation recommends an SD card rather than a USB or alternative as it's the most compatible with Raspberry Pis out of the box - unfortunately, that means you'll need an SD card reader fitted on your PC or laptop.
The class of the SD card isn't necessarily important in terms of how the OS will perform but in any case, the higher is usually better.
If using NOOBS, then the installer will do all the hard work for you, just follow the instructions. However, if you're downloading the ISO (advanced users) you will need to follow some extra steps.
Firstly, you'll need an image writing tool - the Raspberry Pi foundation recommends Etcher, which can be downloaded for free from its website.
- Download Etcher
- Insert your SD card into the PC
- Open Etcher and select the Raspberry Pi image (.img file)
- Select the SD card on which you want the OS
- Click 'Flash!' to begin writing the OS to the card
And that's it, you can then insert the SD card into your device and start exploring what Raspberry Pi OS has to offer.
The history of Raspbian / Raspberry Pi OS
Since Raspbian's inception, there have been a few different versions released by the developers behind it. Because it's a Linux-based distro, it's easy enough to make modifications to it and release periodic improvements.
Raspbian Wheezy
The very first iteration of Raspbian was largely built upon Debian Wheezy and was officially supported by the Raspberry Pi Foundation in 2015. Wheezy is an unofficial port of Debian Wheezy armhf and prior to the official support, Raspberry Pis came pre-packaged with Debian Squeeze as the official OS but was eventually replaced with Raspbian Wheezy. This is because the developers behind Wheezy realised that Squeeze was used to support less-capable ARM devices which meant the Pi's CPU wasn't performing optimally during floating point-intensive applications, such as graphics programs.
Raspbian Jessie
Along with the regular security patches and under-the-hood improvements, Jessie brought some more noticeable features in too.
In a bid to make the Raspberry Pi not just cheap computers for education, but cheap computers in their own right, the Foundation made some small changes to make it feel more like a 'real' PC. For example, LibreOffice suite and Claws Mail were installed as standard so users could use word processors, create spreadsheets and manage their email from within Raspbian. Also, instead of booting to a Linux command line, Raspberry Pis booted to a Raspbian desktop GUI by default for the first time as a result of an update to the distro.
In September 2016, Raspbian Jessie with PIXEL was made available to those who wanted a GUI desktop. Using the somewhat forced acronym PIXEL (Pi Improved Xwindow Environment, Lightweight) desktop was the first time the OS received a GUI desktop when before it was just a Linux code screen - it even received a boot splash page like a proper OS too.
Performance indicators were also added. For example, when the Pi was being overworked in older versions, red and yellow pixels would appear in the screen. This was redesigned to show a lightning bolt to indicate undervoltage or a thermometer for temperature warnings.
Raspbian Stretch
Debian releases new official distros on a two-year cycle and, as Raspbian has always been based on Debian, it does the same, kind of. Stretch was released just before the two-year anniversary of Jessie, and like its previous version, the improvements made to Stretch were supposed to go largely unnoticed by the end user.
However, one of the more noticeable upgrades was to the onboard Bluetooth audio manager. Jessie used PulseAudio, but this was scrapped in favour of bluez-alsa as the former was clumsy and didn't do a great job of encoding different audio sources.
Stretch also brought with it a change to its base code layer following the discovery of a firmware vulnerability in Pi 3 and Pi Zero W wireless chipsets.
Raspbian Buster
Released two years and one month after Stretch, Buster introduced a set of changes and coincided with the launch of Raspberry Pi 4.
The organisation admitted that "sadly" there were no significant functional changes between Buster and its predecessor, barring a number of security upgrades. However, Buster did include a host of upgrades to the overall look and feel of the OS as well as changes to elements of the user interface. This design overhaul, which brought the first major UI changes since Jessie, gave the OS a flatter and cleaner look.
Buster also introduced the Thonny Python development environment as the default Python editor, rather than IDLE. This came alongside a series of minor functionality improvements, such as only showing the 'eject' icon for removing USB devices if there are devices to eject.